canva
How to Customize a Canva Template for your Nonprofit

Published by
The Nonprofit Template Shop
Posted on
May 13, 2022
Updated on March 12, 2024
One of the things we love most about Canva is the rate at which the developers innovate, bringing all of us amazing new or improved features and functions.
That said, that innovation can make it difficult for those of us who use the application to keep up with all of the changes. Though we do our best to keep abreast of those changes, you may notice that some elements of the content below appear slightly different from the view you see in your Canva account. If you need any help following any of the steps you see here, please reach out to us! We’re always happy to support you.
There are thousands of templates available for Canva — some directly within the platform and some from third-party sources (like ours!)
Once you’ve found a template that will work for your needs, it’s a good idea to customize it to fit your organization’s brand. This will help to build and strengthen your organization’s brand, which in turn will increase recognition of and trust in your organization.
There are some easy steps you can take to customize your template with your organization’s brand. Here are four steps we recommend taking every time you use a Canva template.
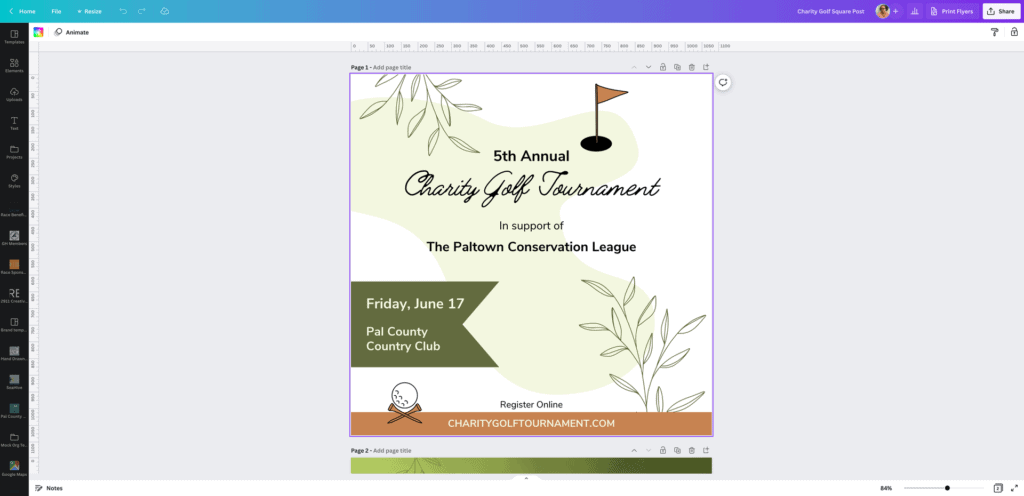
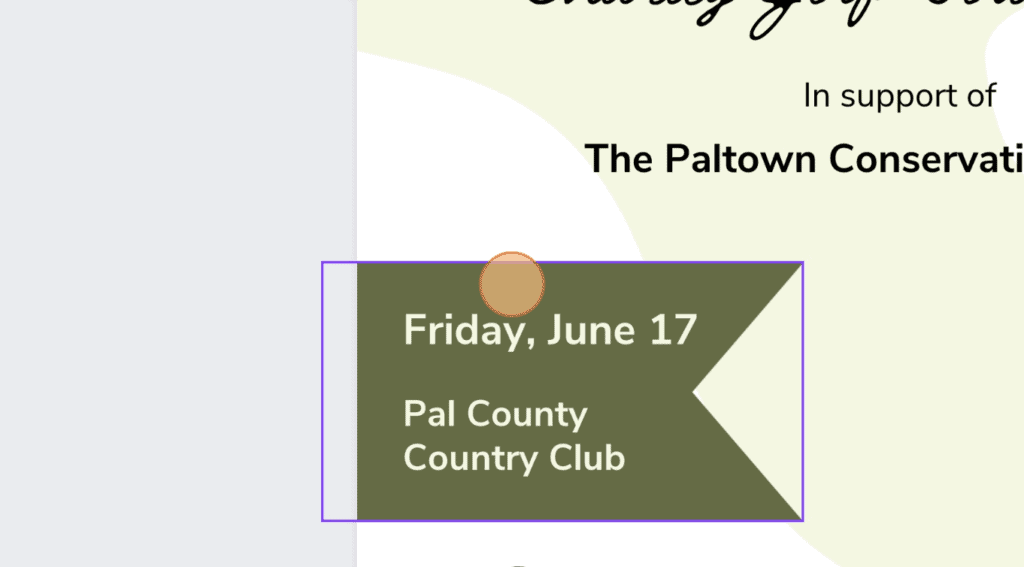
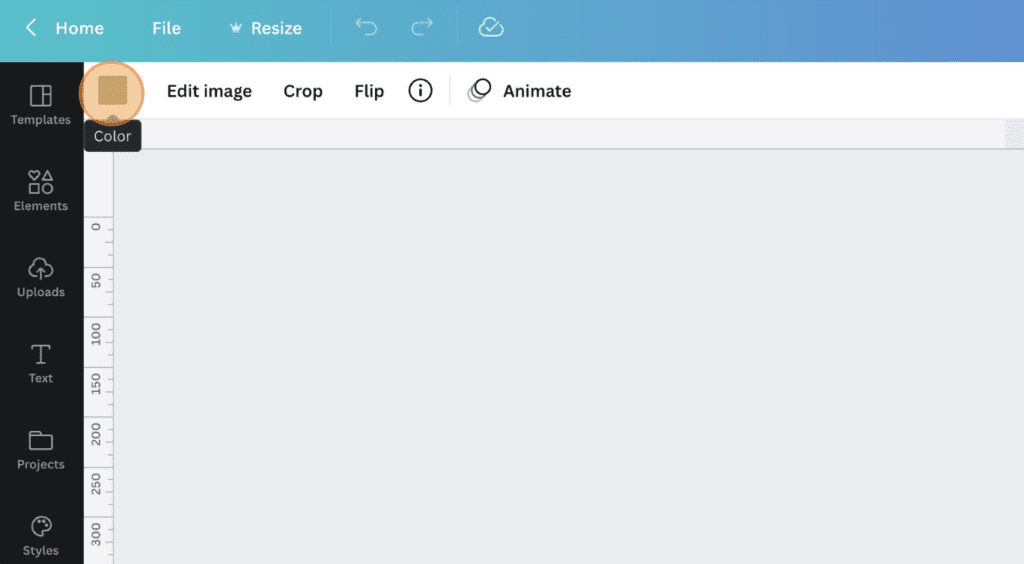
1. Review the colors.
The quickest and easiest way to customize your template is with color. Swapping out the template colors for your organization’s brand colors instantly makes a templated design look like it belongs with the rest of your content.
Here’s how:
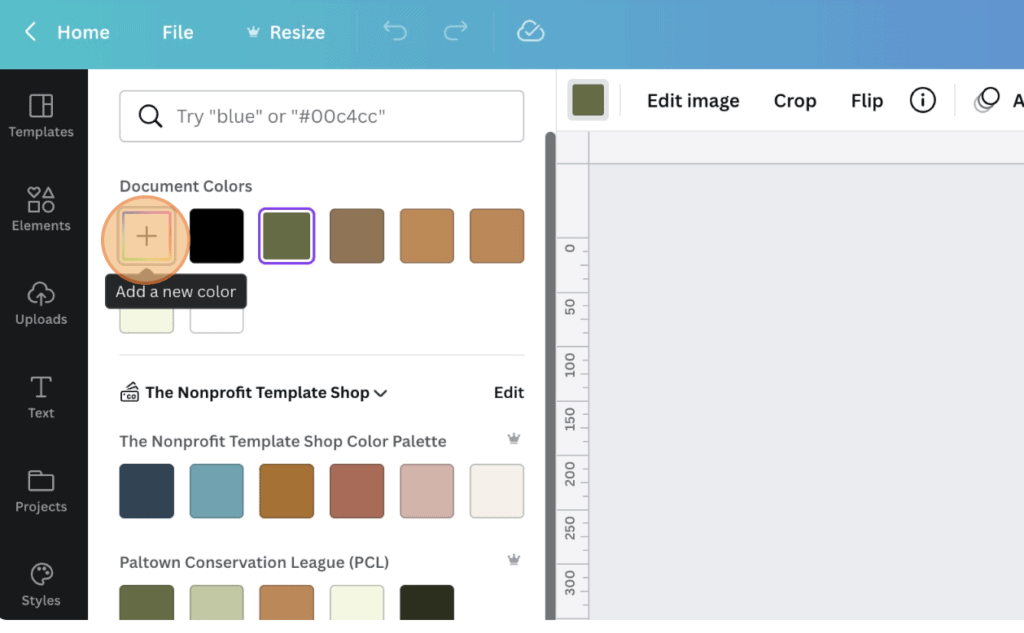
To change the color of any element on your design, simply click that element to select it. You’ll know that you’ve selected an element when you see the frames with handles. Then, click the color square in the top menu to select a new color for that element. You can use a color picker to select a color, enter a HEX code, or choose a color already in use in the design.
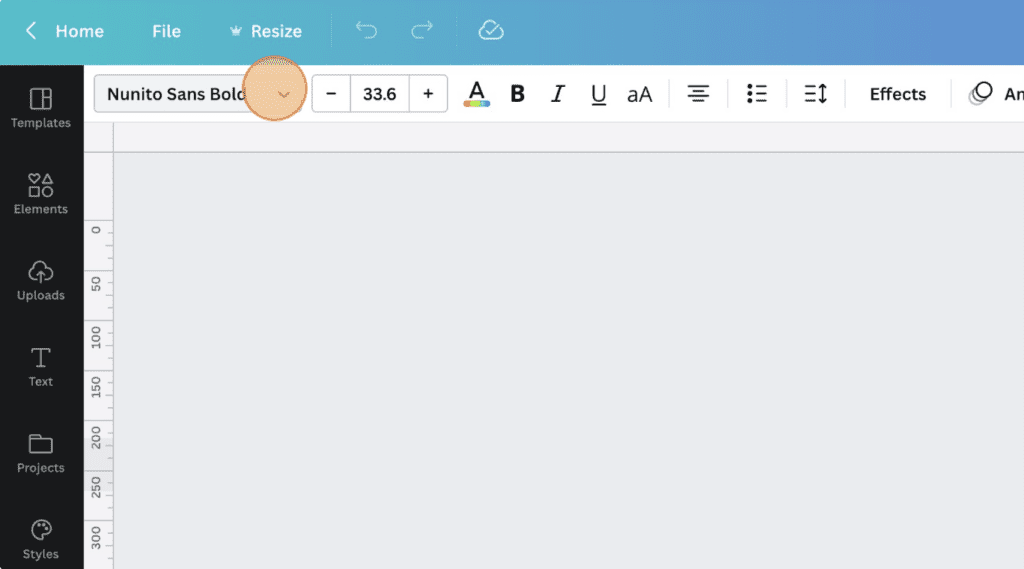
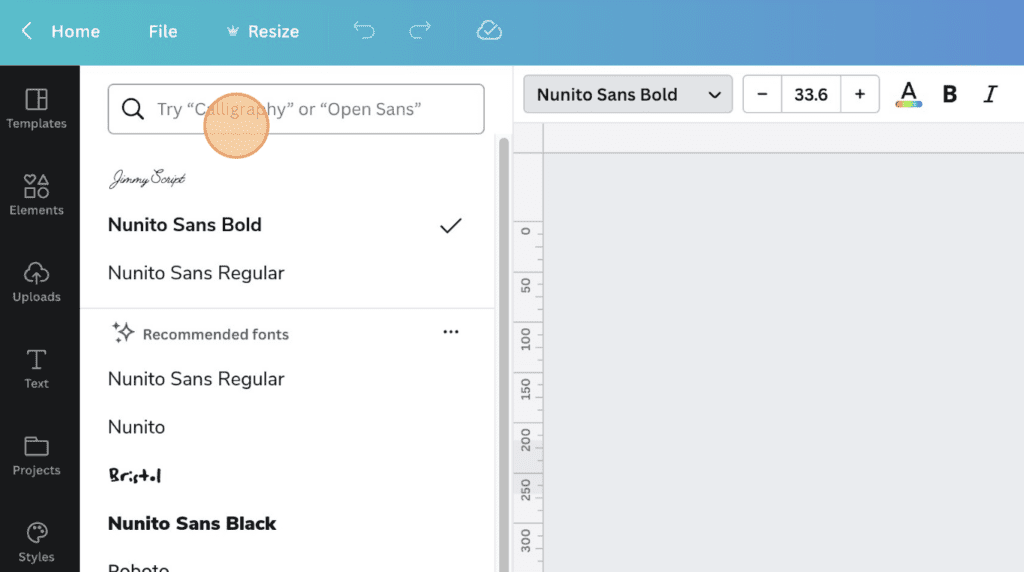
2. Review the fonts.
Next, have a look at the fonts used in the template. Do they match the look and feel of your organization’s brand? Does your organization’s brand have defined fonts? If so, swap out the fonts used on the template with your organization’s brand fonts. If not, ensure the fonts used are readable and fit within the overall style of your organization’s brand.
Here’s how:
To change the font of any text block, first, select the text by clicking on it. This will open the text toolbar above your design. Next, click the down arrow beside the font name to open the font dialog box. There you can browse for a new font, or search for a specific font. You can also change the font size, color, and style while it’s selected. The fonts associated with your organization’s Brand Kit will be also easily accessible here if you wish to use those.
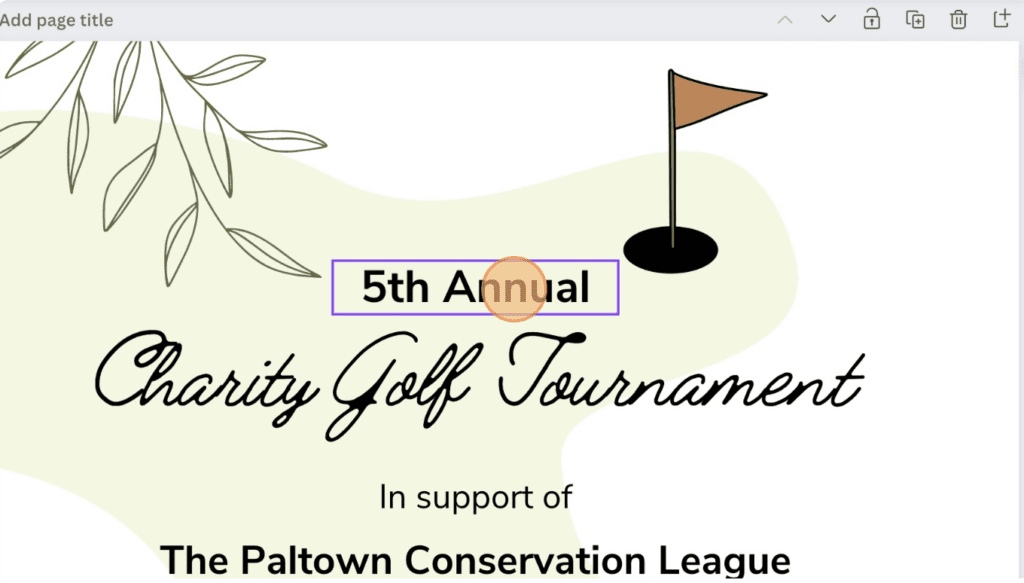
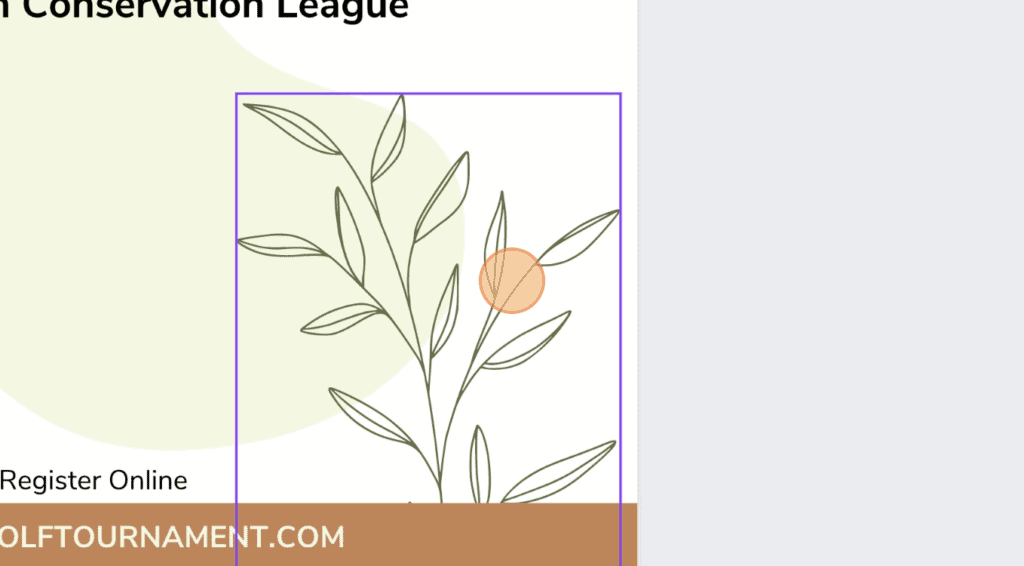
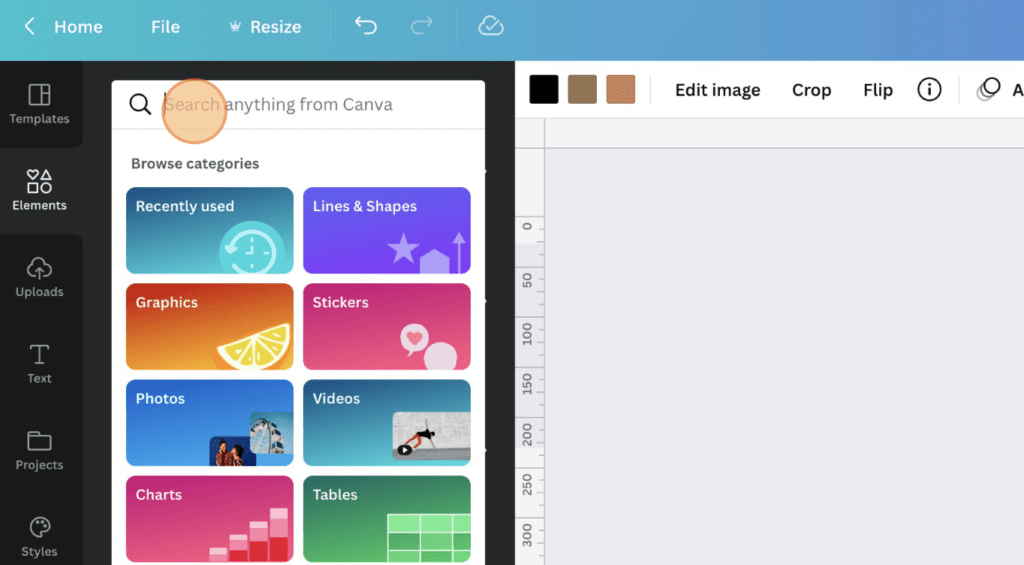
3. Review the graphic elements.
After switching up the colors and fonts, your template should already be looking a lot more on-brand. But before you post it, have a look at the graphic elements included in the template. Do they fit the look and feel of your organization’s brand? If not, do a quick search to see if there’s something else that might be a better fit.
Here’s how:
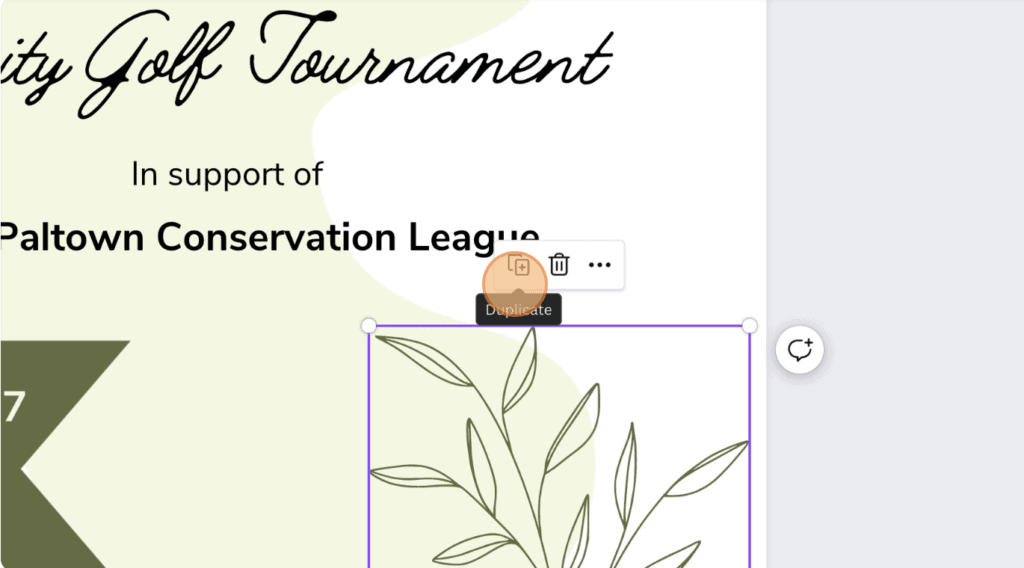
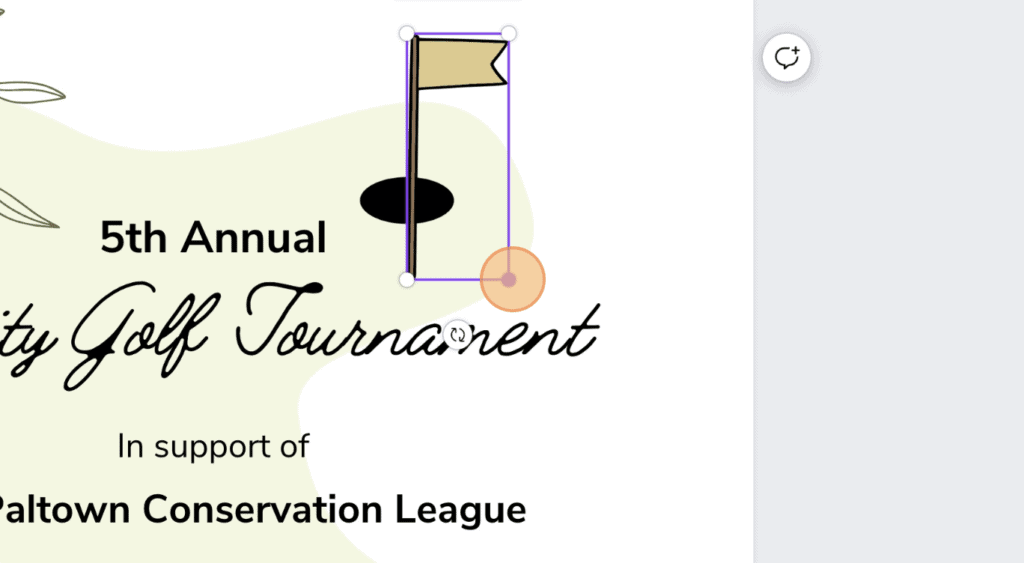
To delete any elements that don’t fit your organization’s brand, click on an element then click delete on your keyboard or click the trash can icon. As you see here, you can also duplicate an element here.

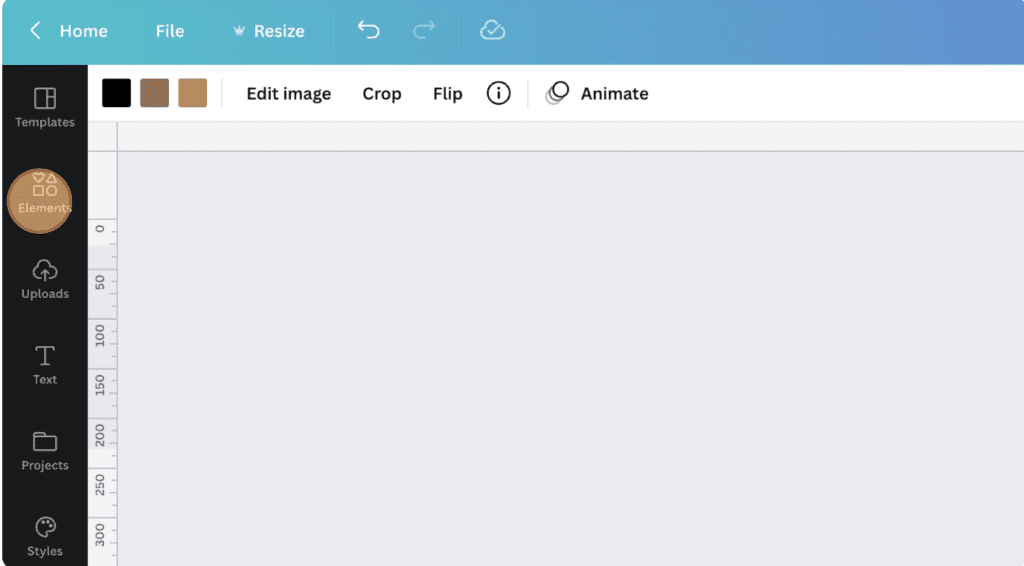
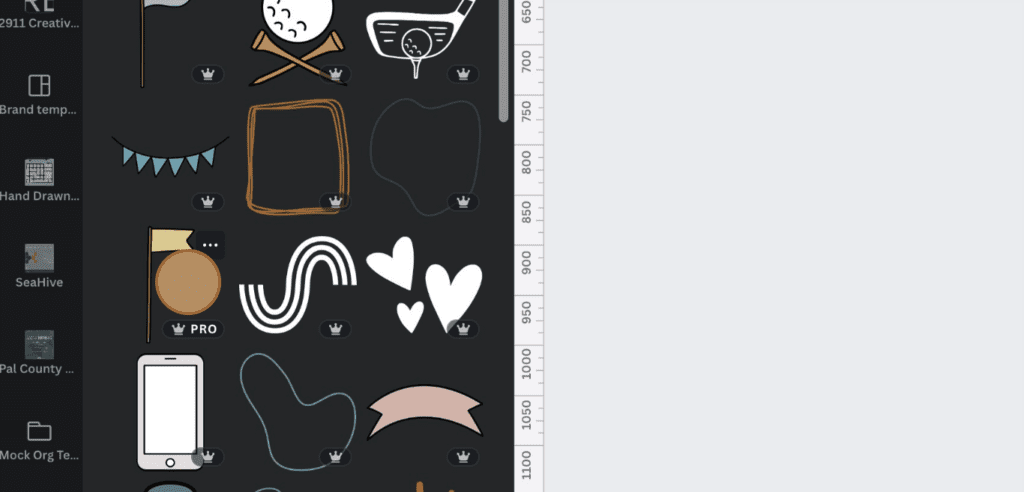
Next, replace the unwanted elements by clicking ‘Elements’ in the left menu. Enter a keyword to search and browse for a new graphic element that would fit your organization’s brand. Once you find one, click on it to place it on your design. Next use the frame handles to resize the element if needed, then click and drag it into place on your design.
Pro Tip!
You can put in any Canva Creator’s username to see the Elements they have created. We’ve used our username, @nptemplateshop, to display the Elements we’ve contributed to Canva’s library, including some of the ones used here on our website and in the template you see in these screenshots! You can also see the Elements we’ve contributed by visiting our Canva profile.
4. Review the tone.
The final step in customizing your template is to review the overall tone of the design. Does it match your organization’s tone, voice, and style? If not, make any necessary adjustments to ensure that it is on brand.
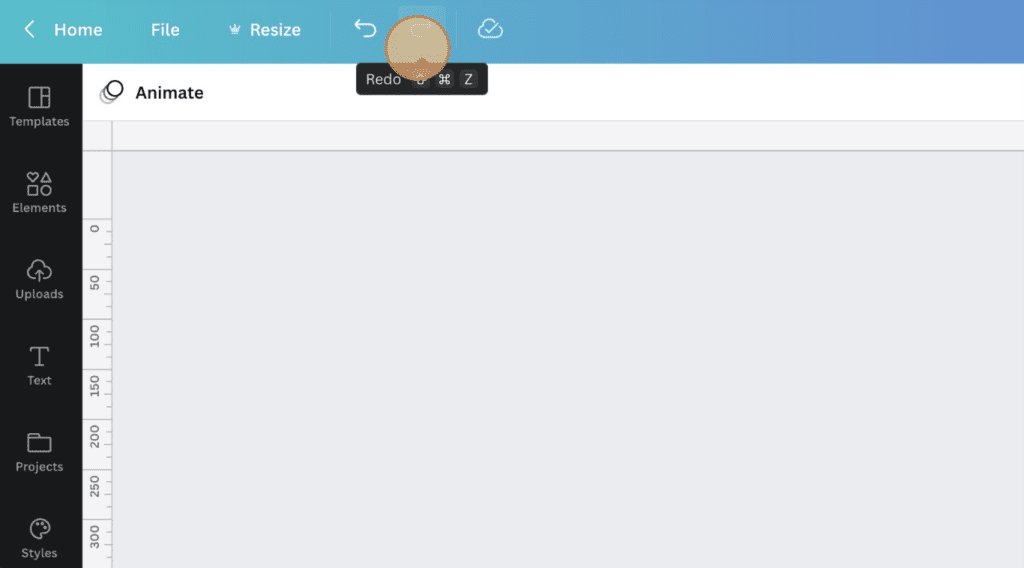
Made a mistake?
We all make mistakes occasionally….especially when we’re working on deadline. Thankfully, Canva does have an UNDO action button. Your standard keyboard shortcuts for undo will also work to undo an action in Canva.

There’s also a REDO button if you need to reverse an action. Again, your standard keyboard shortcuts for redo will also work to redo an action in Canva.
Now you have a template that is unique and customized to your organization’s brand that you can continue to use again and again!
