canva
How to Set Up your Nonprofit’s Brand Kit in Canva

Published by
The Nonprofit Template Shop
Posted on
May 2, 2022
Updated on November 29, 2022

One of the things we love most about Canva is the rate at which the developers innovate, bringing all of us amazing new or improved features and functions.
That said, that innovation can make it difficult for those of us who use the application to keep up with all of the changes. Though we do our best to keep abreast of those changes, you may notice that some elements of the content below appear slightly different from the view you see in your Canva account. If you need any help following any of the steps you see here, please reach out to us! We’re always happy to support you.
As a nonprofit organization, a strong brand is an important part of building recognition and establishing and maintaining trust with your community and stakeholders. However, a strong brand doesn’t happen overnight; it takes planning and intentional effort to ensure that every interaction that your organization has with your community accurately represents your organization’s vision and mission. If your organization is just getting started with building a cohesive visual brand identity, we’ve offered some guidance on how to take the first steps.
While there are many things to consider when it comes to branding for your organization, one of the keys to building an effective brand is consistency. This includes keeping the look and feel, as well as the voice and tone of your brand, consistent – and this can be challenging! With so many sponsorship packets, campaign letters, event signage, and social media posts to produce — often with multiple staff members producing them — it can be overwhelming to ensure that everything your organization creates has the same look and feel.
Having a system in place to help streamline the design process across the entire organization is a great way to help your organization to achieve this consistency. Our favorite platform for creating and managing your organization’s design system? Canva!
What is a brand kit in Canva?
One of Canva’s most valuable, time-saving features is the ability to create a brand kit. A brand kit allows you to collect all of your organization’s brand elements — logos, colors, fonts, patterns, graphic elements, and even commonly used images — in one place.
If your organization already has brand guidelines in place that define your logo usage, color palettes, font systems, and more, then creating your brand kit in Canva will be a breeze. You’ll simply upload your logos, define your color palette and fonts, and upload any other commonly used graphic elements. All of these elements will then be easily accessible every time you or a member of your team log in to Canva to create a new design.
How to get started with creating your brand kit in Canva
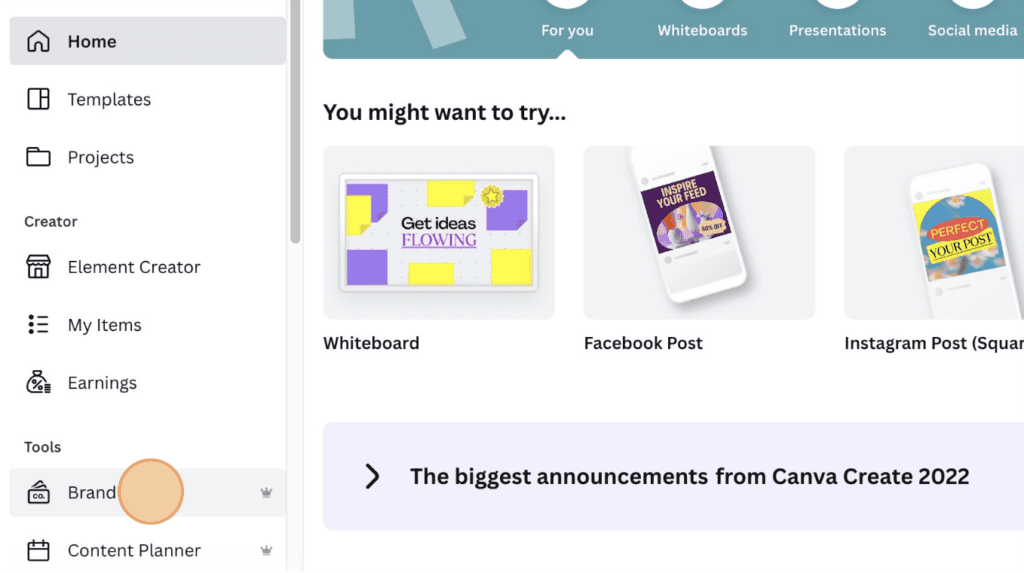
Step 1: Navigate to the Brand Kit dashboard. Click ‘Brand’ under Tools in the (bottom) left sidebar menu to access the brand kit dashboard.
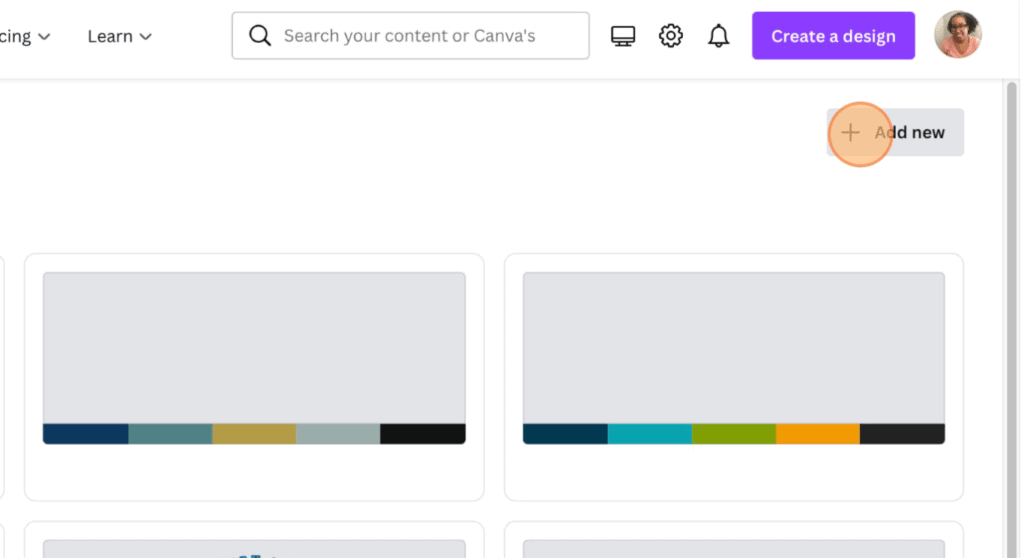
Step 2: Create your brand kit. Click the ‘+ Add New’ button to create your new brand kit.
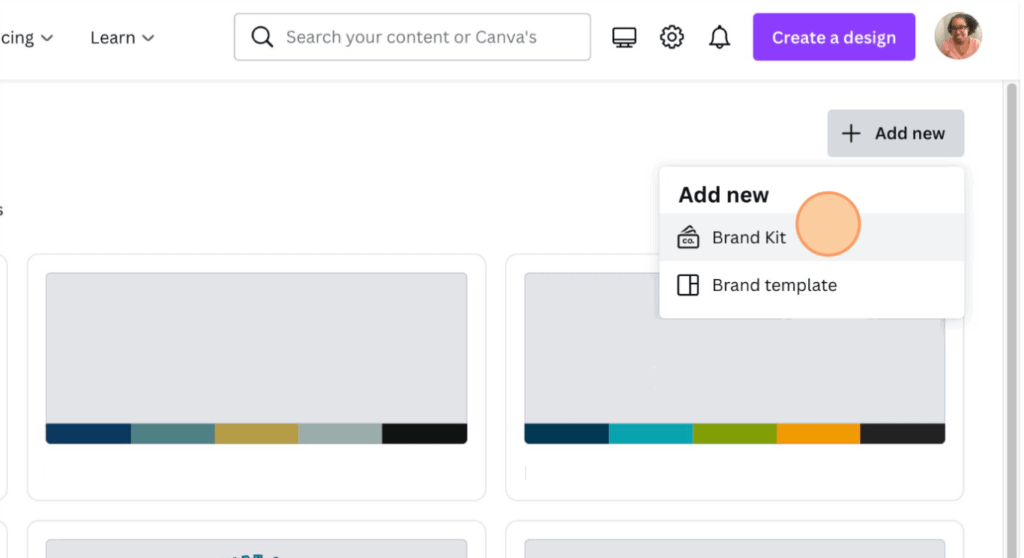
You’ll see an option to add a new Brand kit or a new Brand template. For this tutorial, we’ll be creating a new Brand kit, so you’ll want to choose that option.
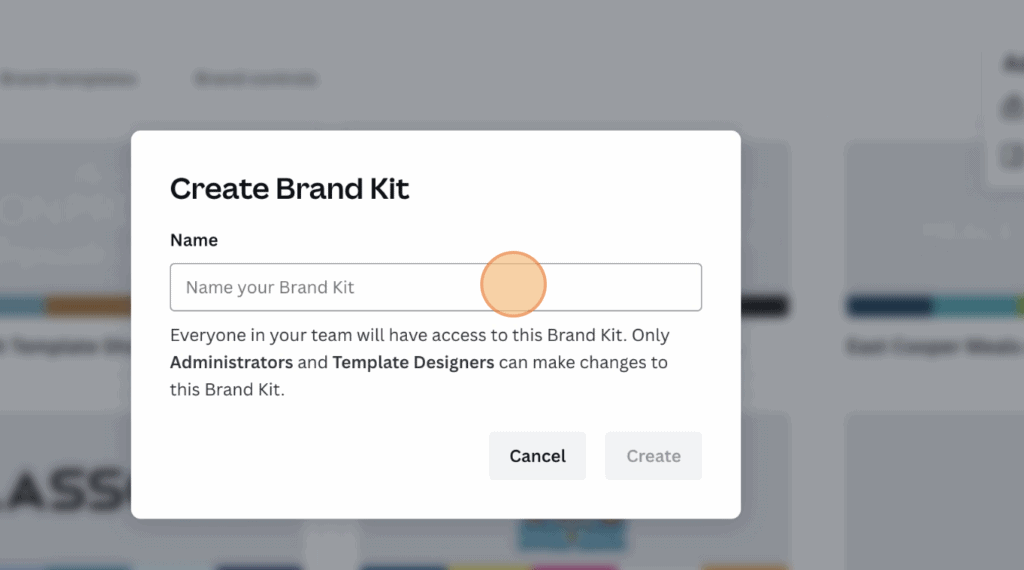
Step 3: Name your brand kit. Your next step is to enter a name for your brand kit. Note that you can create separate brand kits for programs, campaigns, or events if they have their own brand systems.
Step 3: Upload your logo. Click the ‘+’ under Brand logos to upload your organization’s logo. You can upload multiple logo versions for different uses; we suggest full-color, grayscale, and transparent background versions at a minimum. Each Brand Kit can have up to 200 logos! Canva supports JPG, PNG, and SVG file types.
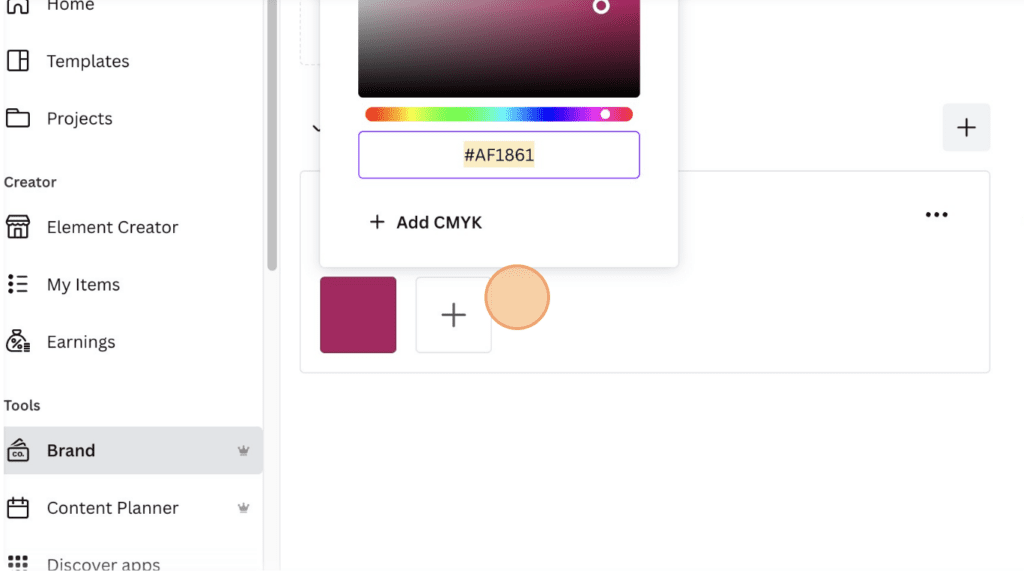
Step 5: Create your color palette. In Canva, you can add color palettes in one of two ways. For the first way, click the ‘+’ sign to start adding individual colors to a new (or existing) palette. You’ll see that you can add colors using HEX codes or CYMK values.
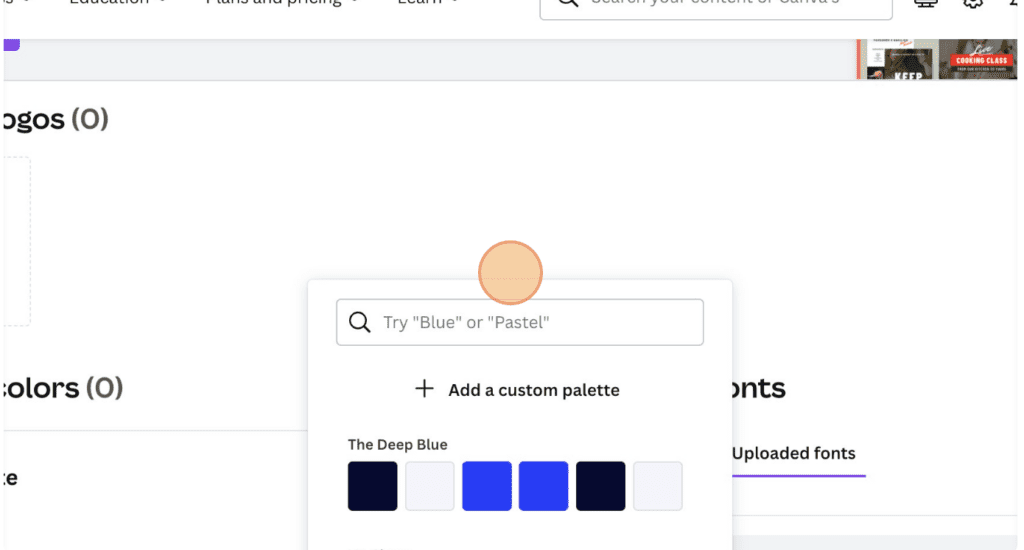
You may also add color palettes by choosing the ‘+,’ which opens up a dialogue box that allows you to Add a custom palette or discover preset color palettes provided by Canva.

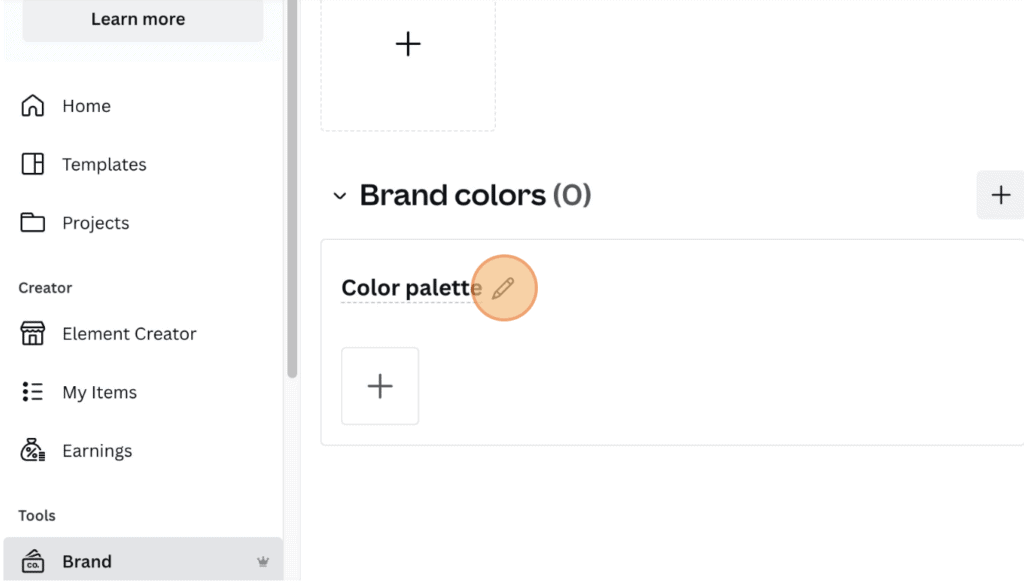
You can name (or rename) your color palette by bringing your cursor near the phrase ‘Color palette’ until you see the edit button, which looks like a pencil, appear. Click the pencil to add or change the name of the color palette.
Step 6: Upload your fonts. Click the ‘Upload a font’ button and navigate to the font files on your computer or network to upload any fonts that your organization requires. You can upload a maximum of 500 fonts to each Brand Kit. Canva supports OTF, TTF, and WOFF. Please note that the fonts you upload for use in Canva should be licensed for embedding; Canva has some helpful info on its website about font upload errors you might encounter.
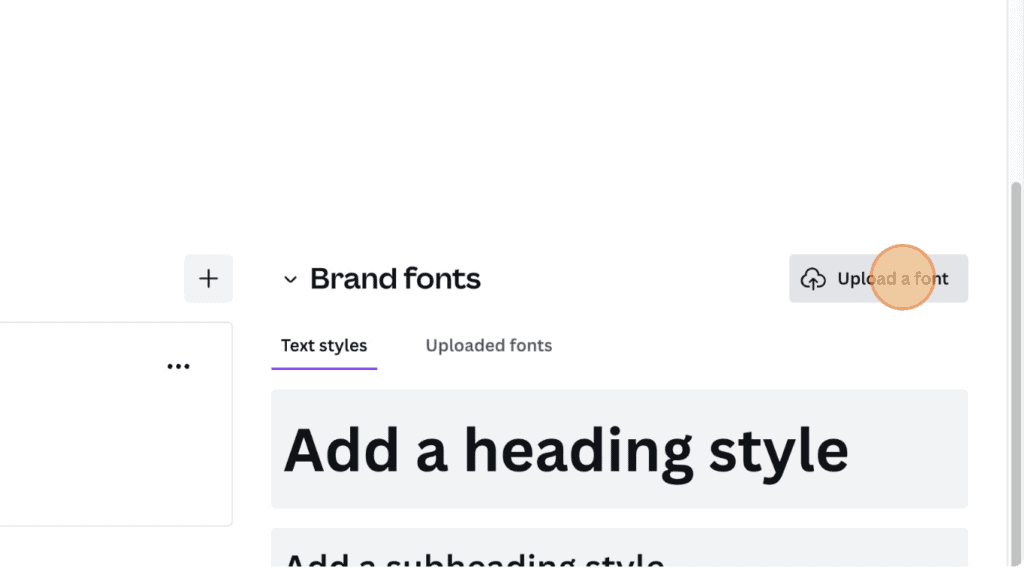
You can choose ‘Uploaded Fonts’ at any time to see the fonts you have already uploaded to your Canva Brand Kit.

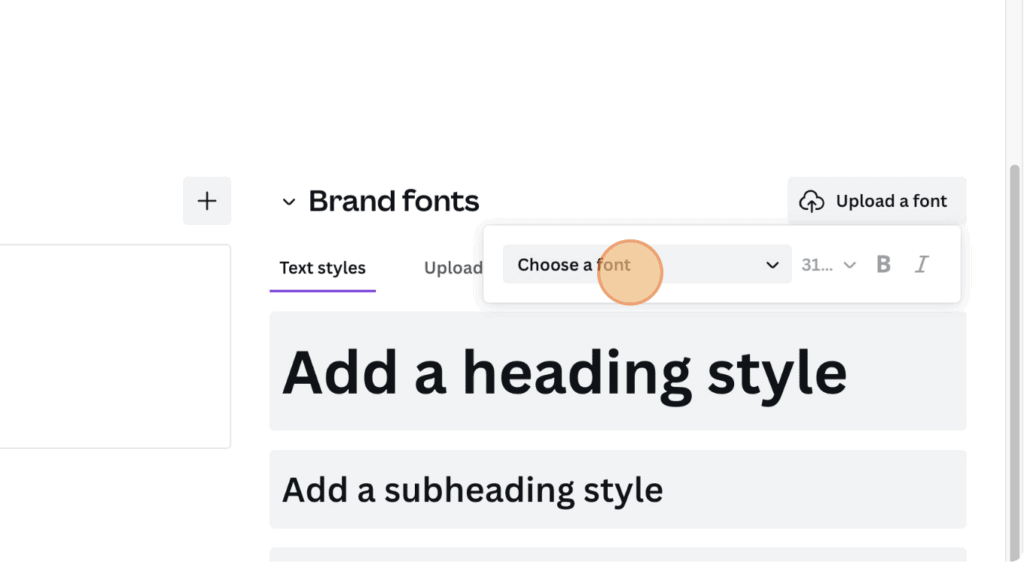
Additionally, you can establish the Text styles for your organization’s Brand Kit, designating any of the fonts you have uploaded as heading, subheading, or body styles.
Congratulations! Your organization’s Brand Kit is now uploaded and ready to use with all of your design projects.
